


Fall is my favorite season! I love the cooler weather, pretty colors and SWEATERS are BACK! I'm a sucker for an oversized, cozy sweater.
As usual, I'm behind on my seasonal crocheting... I planned to release this one a few weeks ago but life just gets crazy sometimes. If only there were more crochet hours in a day!
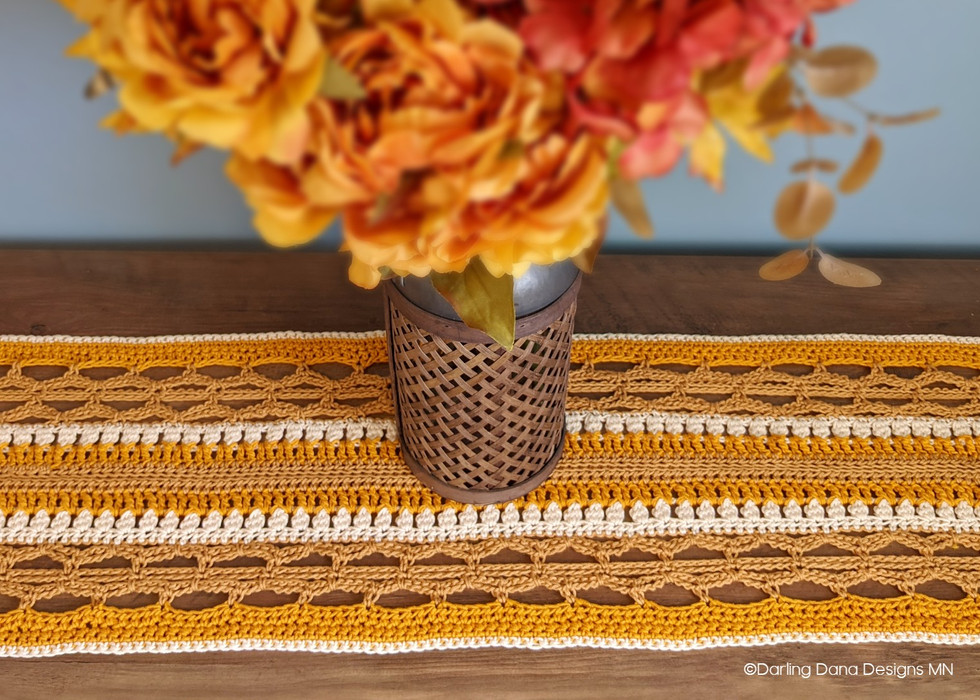
Without further ado, here's my Autumn Lane table runner (or sideboard runner- our kitchen/dining room is still under construction so I don't have a table to photograph at the moment...)
Happy Crocheting!
~Dana

Pattern
Total Length is 72” inches

Materials:
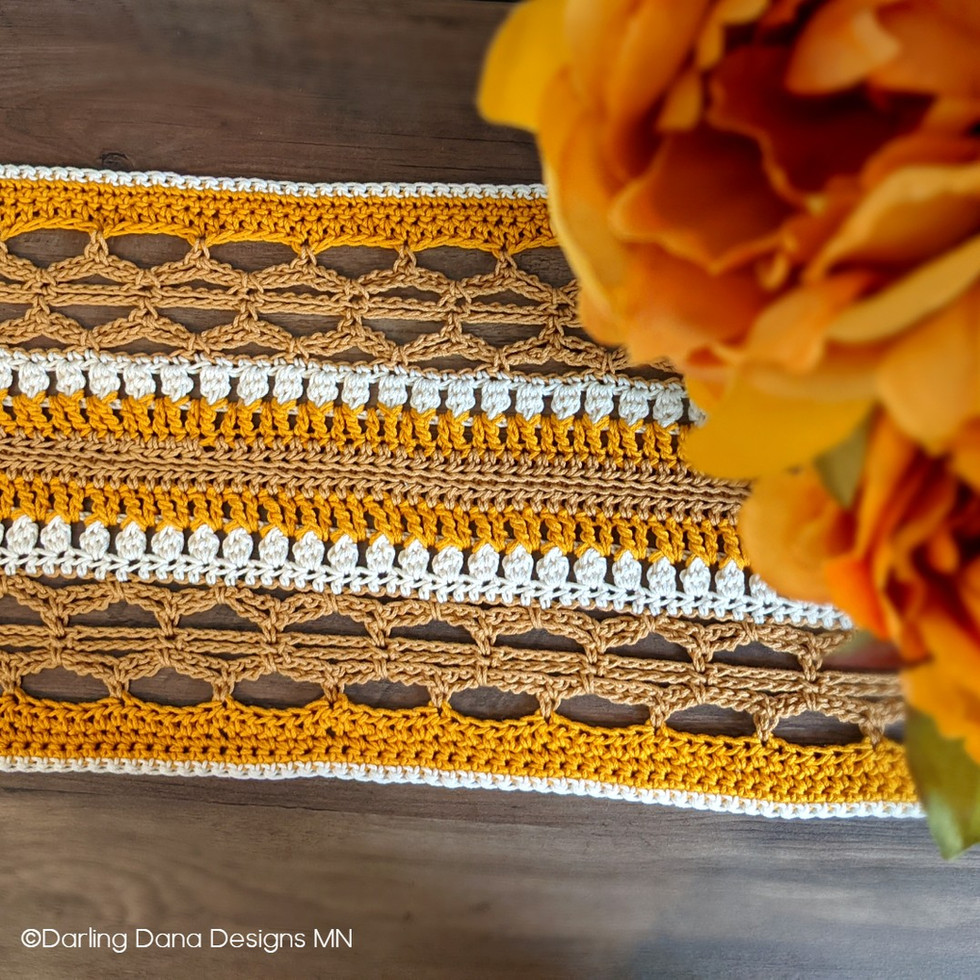
I used Lion Brand 24/7 Cotton (Weight 4) Color A: Goldenrod Color B: Camel and Color C: Cream
*I needed approx. 1.5 skeins of each
color
5 mm hook (G+)
Yarn Needle
Recommended: Blocking mats and pins
Special Stitches:
DC3TOG in one Space: Yarn over, Insert hook into desired space, yarn over and pull through (there will be 3 loops on your hook), yarn over and pull through the first 2 stitches on your hook (there are now 2 loops on your hook) Yarn over, and insert hook into same space, yarn over and pull through (4 loops on hook), yarn over and pull through 2 stitches (3 loops on hook), yarn over, insert hook into same space, yarn over and pull through, (5 loops on hook) yarn over and pull through 1st 2 hooks, yarn over and pull through remaining 4 loops on hook.
*Make 2 (Each is 1/2 of the runner and will be seamed together)
Chain 218
Color A:
Row 1: Sc in the second chain from hook and each across, turn (217)
Row 2: Ch 1, sc in each stitch across, turn (217)
Row 3: Ch 2, hdc in each stitch across, turn (217)
Color B:
Row 4: Ch 1,1 sc in first sc, *ch 7, skip 5 st, 1 sc in next sc; rep from * to end, turn
Row 5: Ch 1, 1 sc in first sc, *ch 7, sk 7ch, 1 sc in next sc; rep from * to end, turn
Row 6: Ch 5 (counts as 1 dc and 2 ch), work a sc by inserting hook under ch-7 arch from
row 4, *Ch 5, 1 sc under next ch-7 arch made in row 4; rep from * to last sc, ch 2, 1 dc in
last sc, turn
Row 7: Ch 1, 1 sc in first dc, ch 2, sk 2 ch, 1 sc in next sc, *ch 5, skip 5ch, 1 sc in next sc;
rep from * to last 5 ch, ch 2, 1 sc in 3rd ch of ch-5, turn
Row 8: Ch 6 (counts as 1 dc and 3 ch), skip 2 ch, 1 sc in next sc, *ch 7, skip 5 sc,1 sc in
next sc; rep from * to last 2 ch, ch 3, 1 dc in last sc, turn
Row 9: Ch 1, 1 sc in first sc, ch 3, sk 3ch, 1 sc in next sc, *ch7, skip 7 ch, 1 sc in next sc;
rep from * to last 6 ch, ch 3, 1 sc in 3rd ch of ch6, turn
Row 10: Ch 1, 1 sc in first sc, *ch 5, 1 sc under next ch7 arch made in row 8; rep from * to
last sc, 1 sc in last sc, turn.
Color C:
Row 11: ch 1, sc in each stitch across (1 sc in each sc and 1 sc in each ch space)
Row 12: ch 2, sk 1, *dc3tog in the same space, ch 1, sk 1; rep rom * to end, dc in last space, turn
Color A:
Row 13: ch 3, *dc in ch 1 sp, FPtr in next dc3tog; rep from * to last, dc in last, turn.
Color B:
Row 14: ch 2, hdc in each stitch across. Finish off. (*On the second one- do not finish off
here. Turn, and seam this piece together with the other side on R14. Ensure the two
sides match as on the back of R13 you will see the stitch behind the post due to the
FPtr- see assembly)
Border (Color C)
At the base of Row 1: Reattach yarn, sc in each stitch across.
Finish off.
Assembly:
You will seam the two halves of the runner together on Row 14.
**Make sure the back of both pieces line up as you can see the stitches from the FPTR on Row 13 on the backside (see arrow 2 in the image below)
You will slip stitch along Row 14 on both sides of each halve to attach. Sl St in back loop only (See Image Arrow 1).


After the two are seamed together, sew in ends and block. I had to block mine in sections because it is so long. I use a spray bottle with water in it for projects like these so I can wet sections at a time.
Tassels- Make 10
I made 1 in Color A, 2 in Color B and C
For each tassel:
Cut 10 pieces of yarn at about 6 inches in length
Pull 9 pieces through desired space on end (half on front/half on back), ensure choices for tassels are evenly spaced apart.
Using the 10th piece, tie around top of yarn to secure.
After doing this for each tassel- trim to desired length.


